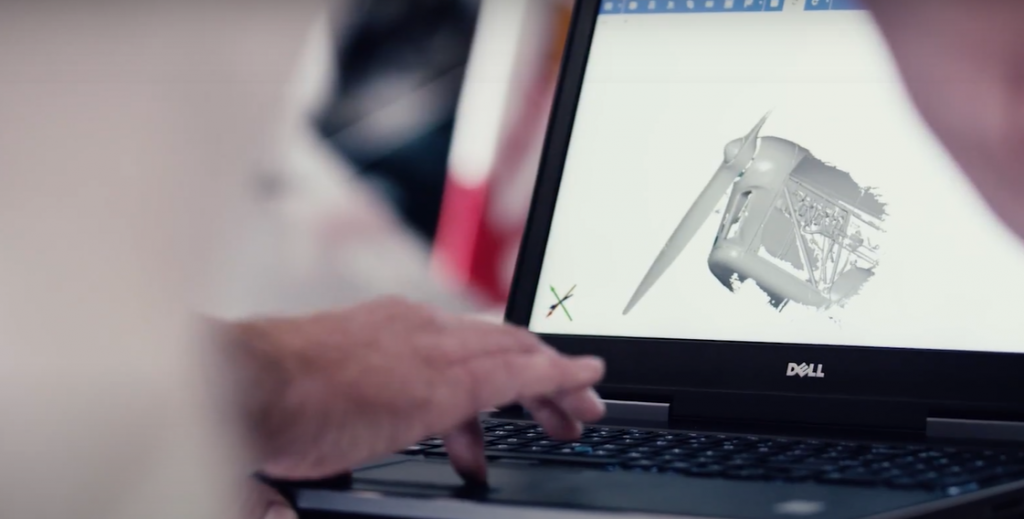
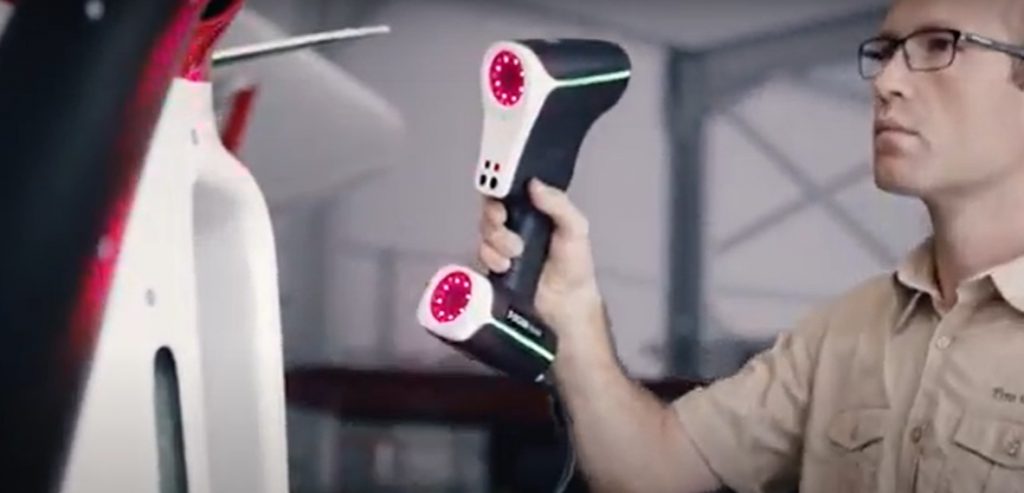
Aerospace maintenance is a huge industry that relies on highly-trained technicians and engineers to inspect aircrafts and repair parts. Things like hail, unfortunate bird encounters, or impact with ground equipment can result in surface defects. In the past, maintenance experts were solely responsible for detecting such faults. Today, 3D scanning systems like the ZEISS T-SCAN hawk actively support technicians in inspecting aircrafts, detecting dents, and remanufacturing parts of all sizes.

The ZEISS T-SCAN hawk is a portable solution also used to reverse engineer and remanufacture parts that need to be replaced but are difficult to source.
Detecting a dent is one thing. To qualify it, however, a highly skilled technician would conduct a visual inspection and use gauges – a lengthy process that could take four to five hours for every single square meter of aircraft surface. 3D scanning can qualify dents using real parameters like length and depth of the defect, resulting in a complete digital copy in a fraction of the time.
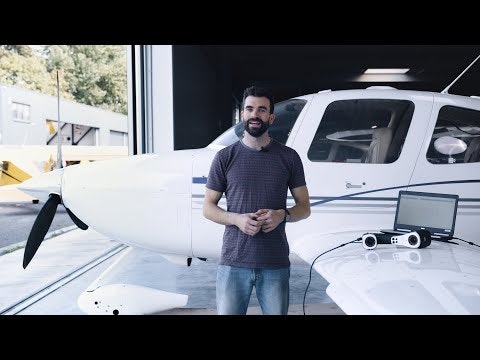
Check out how the ZEISS T-SCAN hawk conducts surface defect detection.
Scanning an entire aircraft wing? Not a problem. But confined spaces can be trickier. 3D scanning is also a solution for tight spaces like the cabin interior, providing the necessary information for strategic and safe remanufacturing of parts that might not otherwise be available.
The ZEISS T-SCAN hawk standoff distance is adjustable down to 200 millimeters, which allows for exact results even with inconsistent environmental conditions. This is an important gain for aircraft operators, as more aircraft data saves on maintenance. Preventative maintenance leads to savings, and comprehensive data enables operators to travel in time digitally and inspect an aircraft in a previous state.
“You don’t need to search for help; it’s already there.”
Lee Griffiths, Aerospace Expert at GOM Metrology
Even taking simple pictures with the 3D scanner can result in complex assessments to achieve maintenance goals. This is where photogrammetry comes into play. Pictures taken of the target area can be combined in the GOM Inspect software to generate accurate point clouds of the reference markers. And then, with a click of a button, the 3D mesh can unfold the magic of the whole GOM software toolbox: CAD comparisons, GD&T, or automatic identification of dents, bulges and wrinkles on the surface defect map, all based on user-defined criteria.
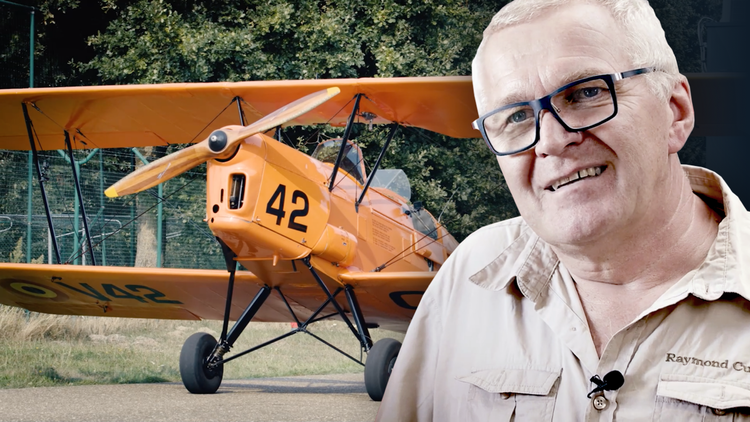
“When it comes to aircraft restoration, good is never good enough.”
Raymond Cuypers, owner of R.A.R.
R.A.R. Antwerp: 没有最好,只有更好
Welcome to Raymond’s Aircraft Restoration, where Raymond and his son Tim restore and maintain vintage aircrafts. Get a glimpse of their passion for their craft and their deep dedication to quality and precision – assisted by 3D scanning to reproduce missing parts.
Our Maker Portraits are behind-the-scenes looks at some of the most exciting manufacturing, maintenance and repair service workshops. Do you want to learn more about Raymond’s Aircraft Restauration? Visit www.rar.be
When it comes to designing replacement parts, the more nostalgic niche part of the industry, as well relies on top-notch technology. Some parts of aircraft noses are easily damaged, yet difficult to source; many restoration shops make their own aftermarket version of this part. We embrace the approach of constant improvement when it comes to our solutions, but also to communication with our partners and customers. Measuring is only one part of the story. The value lies in being able to communicate the results of what can be done together and share data in a way that can be understood easily with the help of our software solutions.


