La vostra sala metrologica mobile
Acquisizione di dati intuitiva con T-SCAN 20 e il nuovo T-SCAN 10 di ZEISS
Un sistema modulare per l’acquisizione di dati senza alcuna preparazione del pezzo
Rapido, intuitivo e altamente preciso
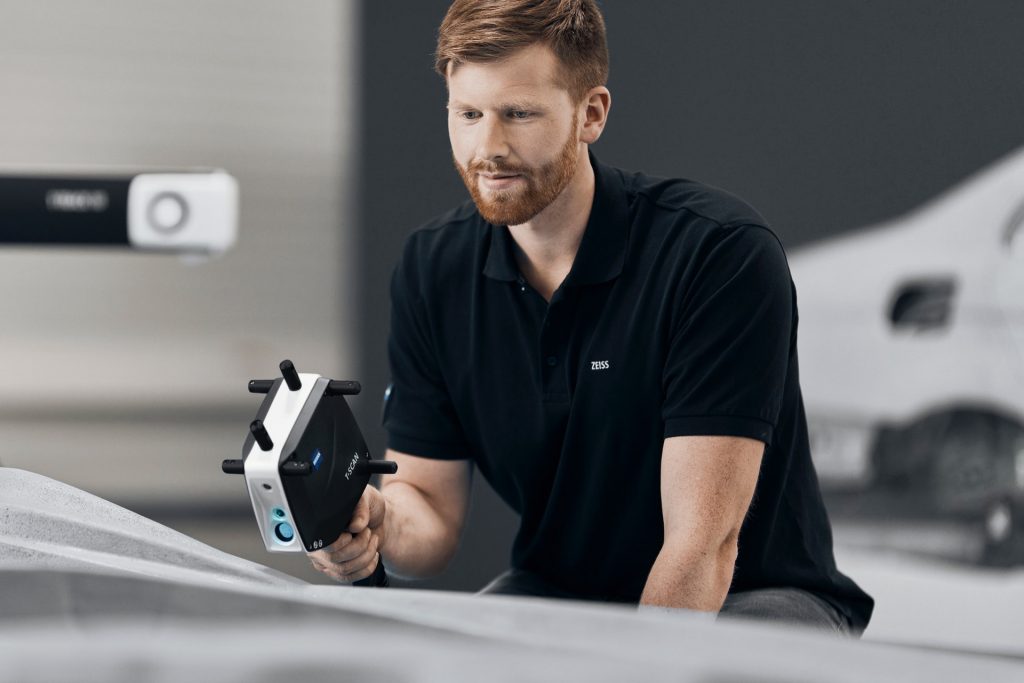
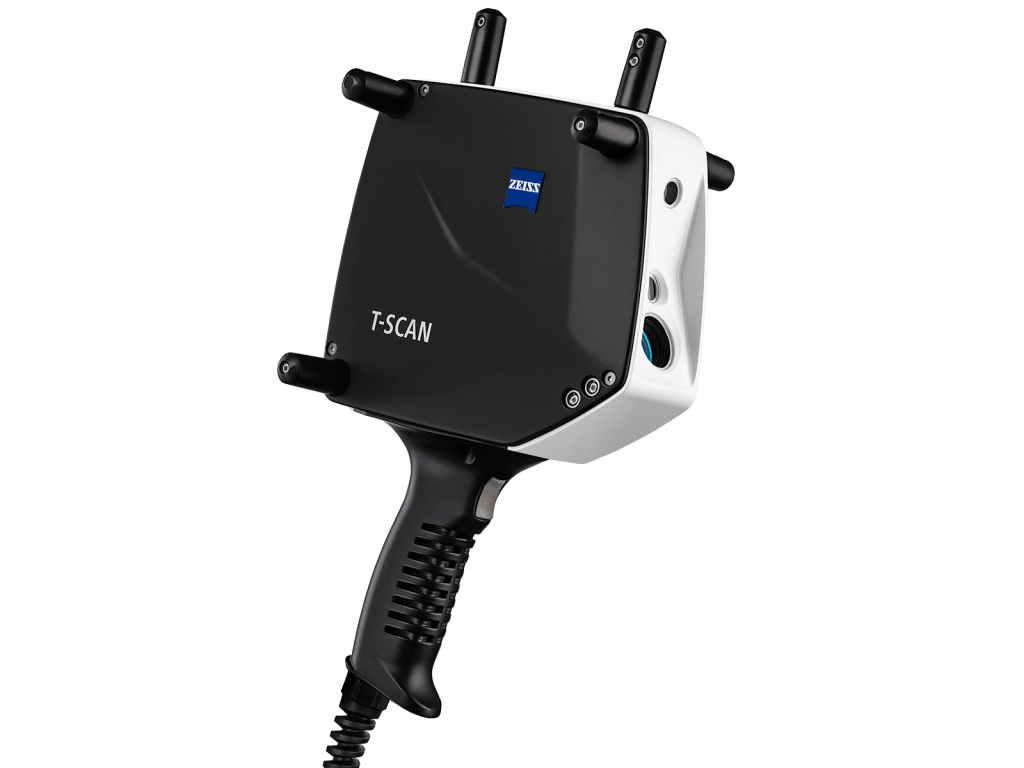
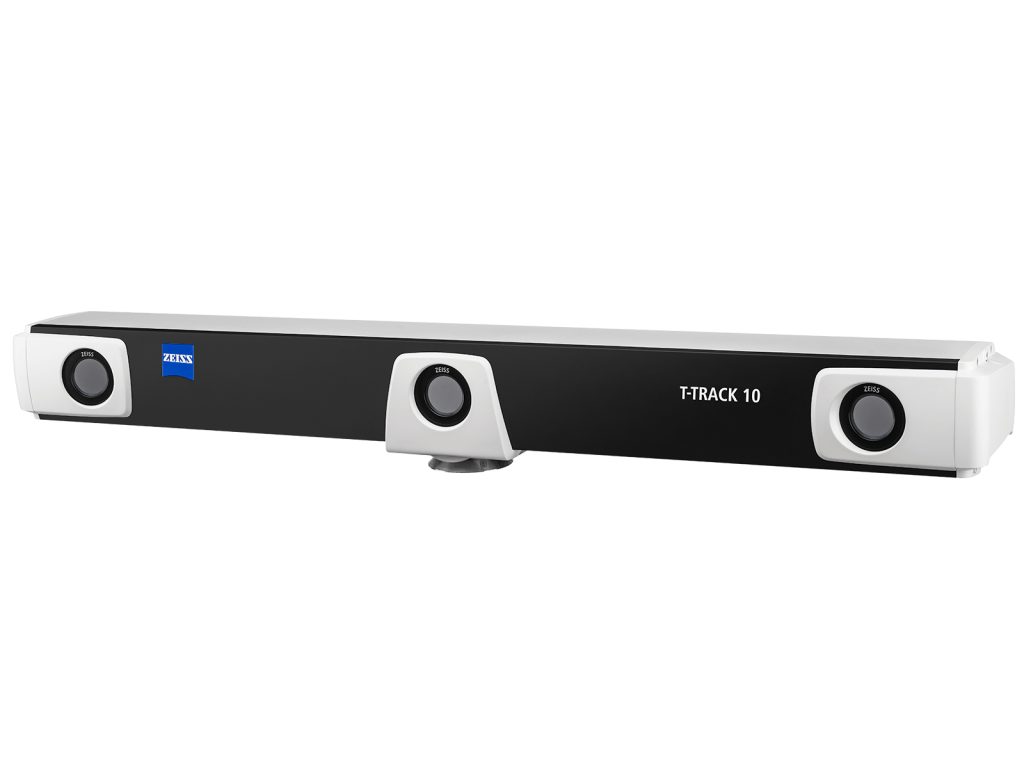
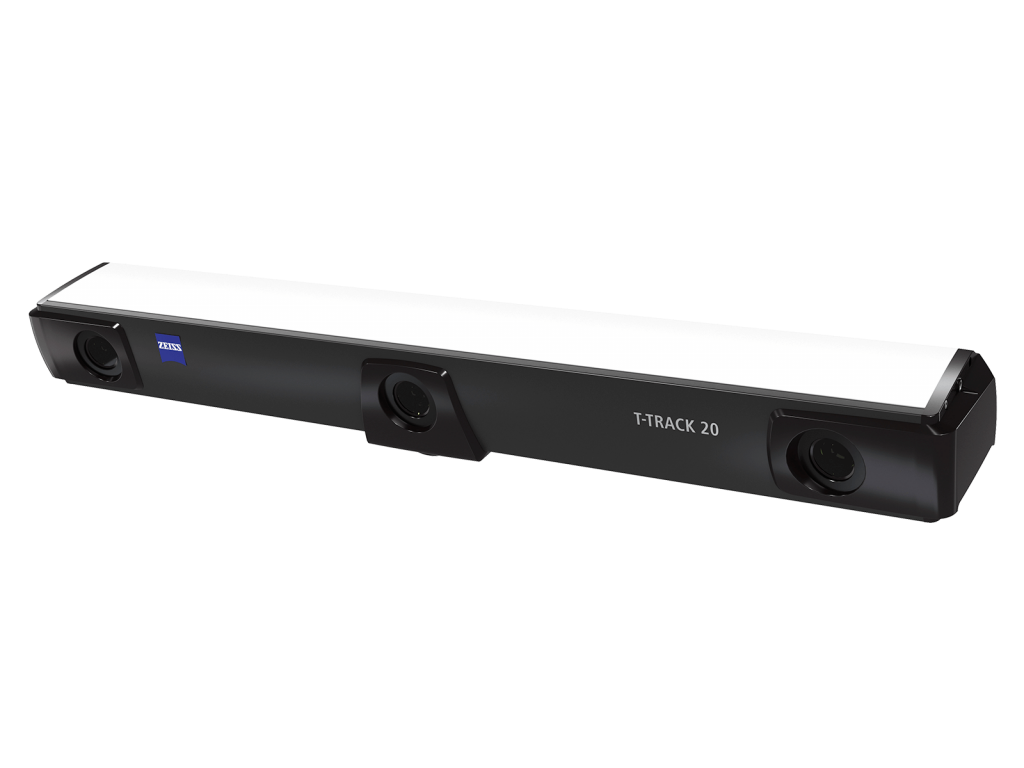
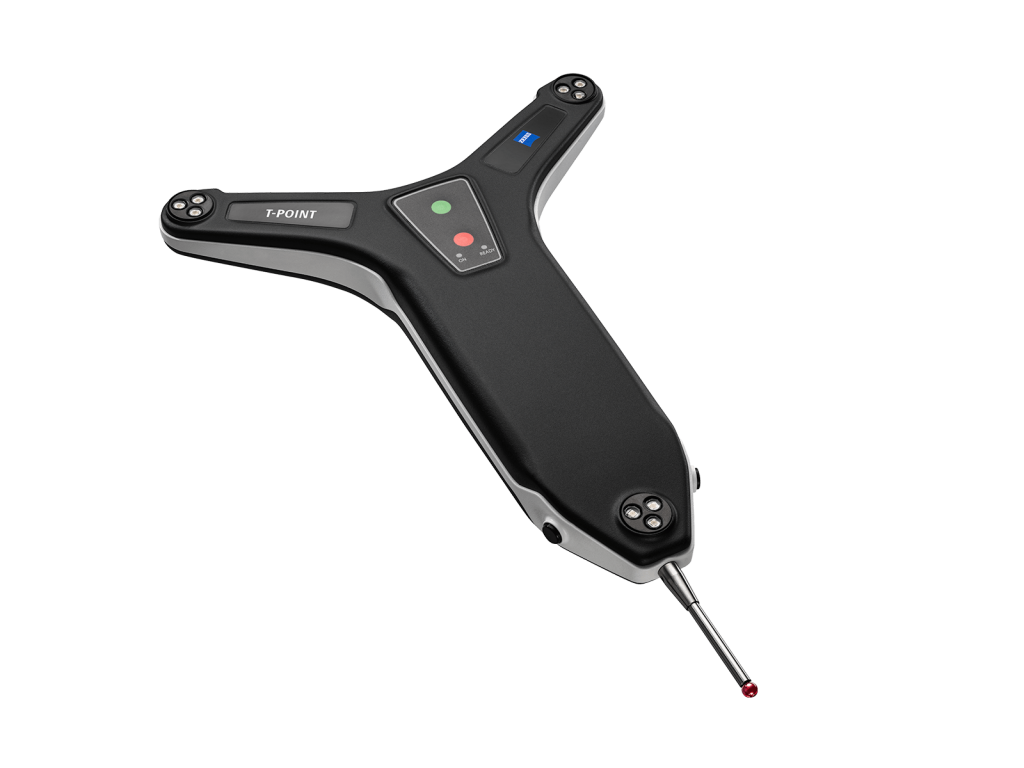
Il sistema modulare T-SCAN di ZEISS rappresenta la vostra soluzione rapida per acquisire dati 3D senza alcuna preparazione del pezzo. I suoi componenti perfettamente abbinati (lo scanner laser portatile T-SCAN, il sistema di tracciamento ottico T-TRACK e il tastatore T-POINT) costituiscono una soluzione metrologica 3D intuitiva e altamente precisa. In combinazione con il software ZEISS INSPECT, esso apre nuove dimensioni nella tecnologia di misura a coordinate.
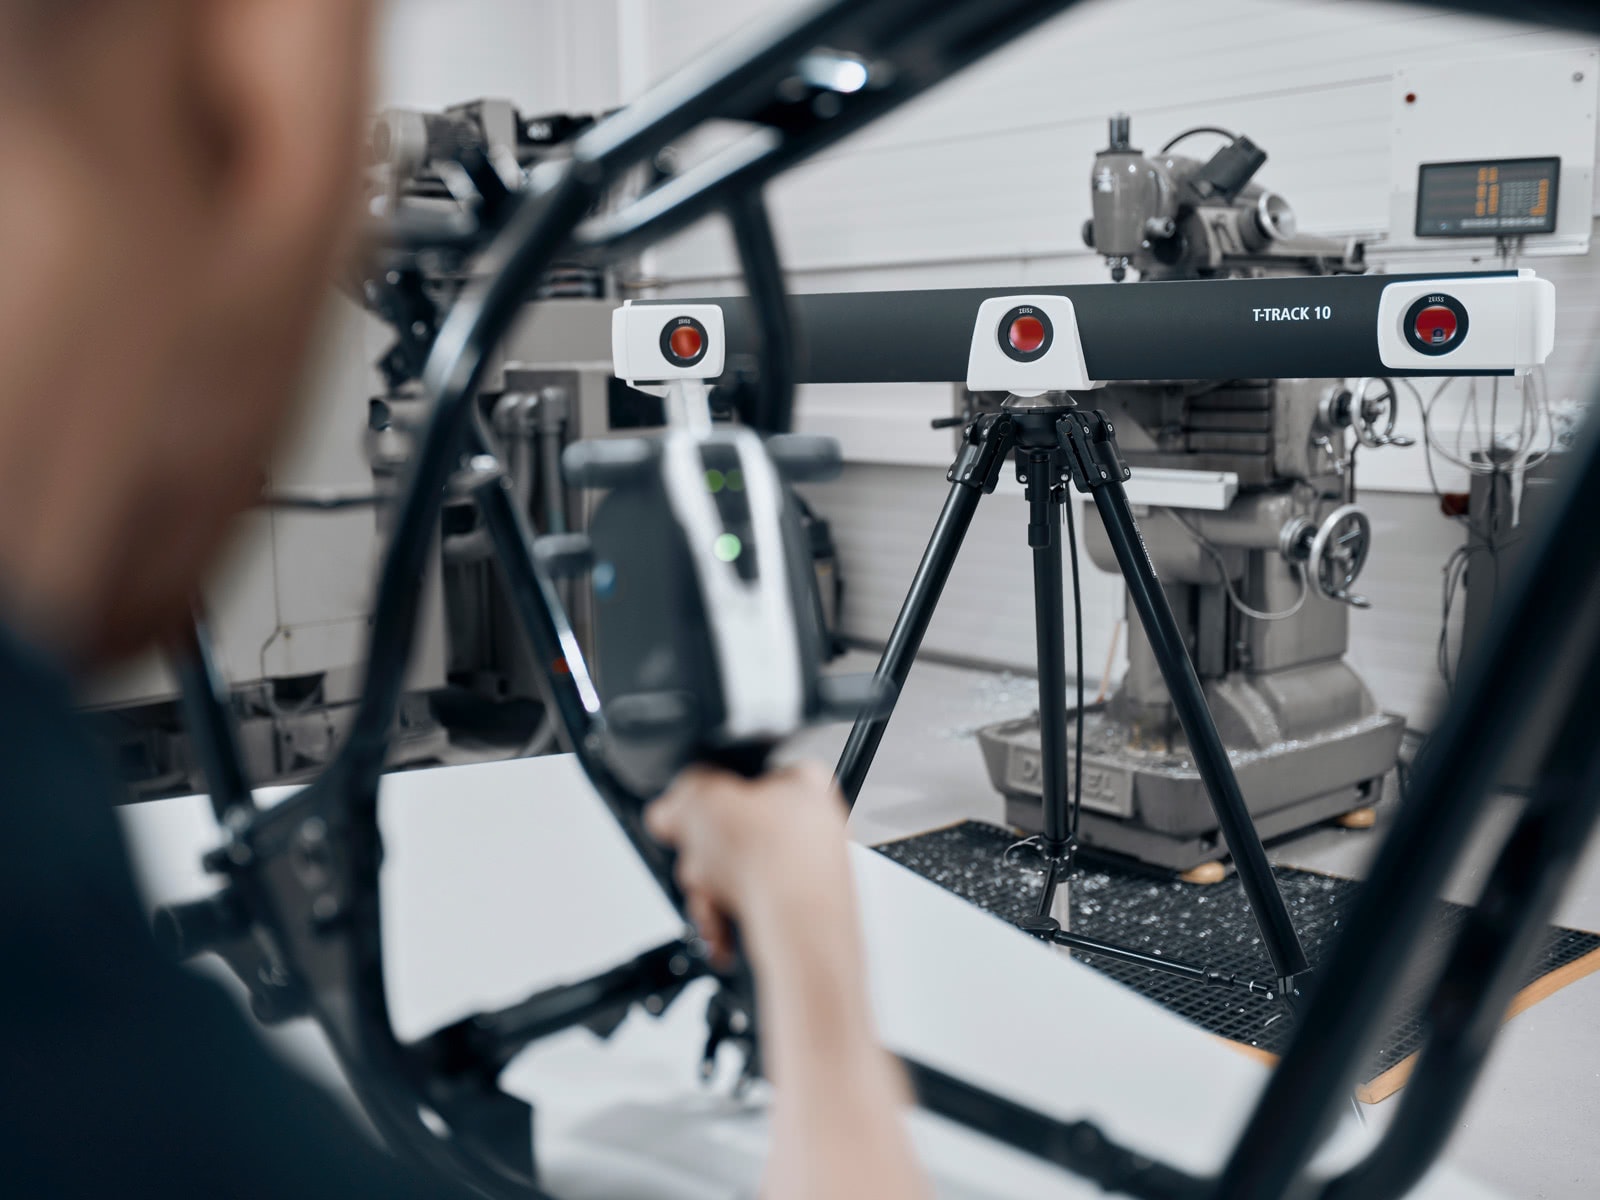
Concetto modulare tutto in uno
La soluzione di scansione laser modulare tutto in uno offre la massima flessibilità per un’ampia gamma di applicazioni e superfici.
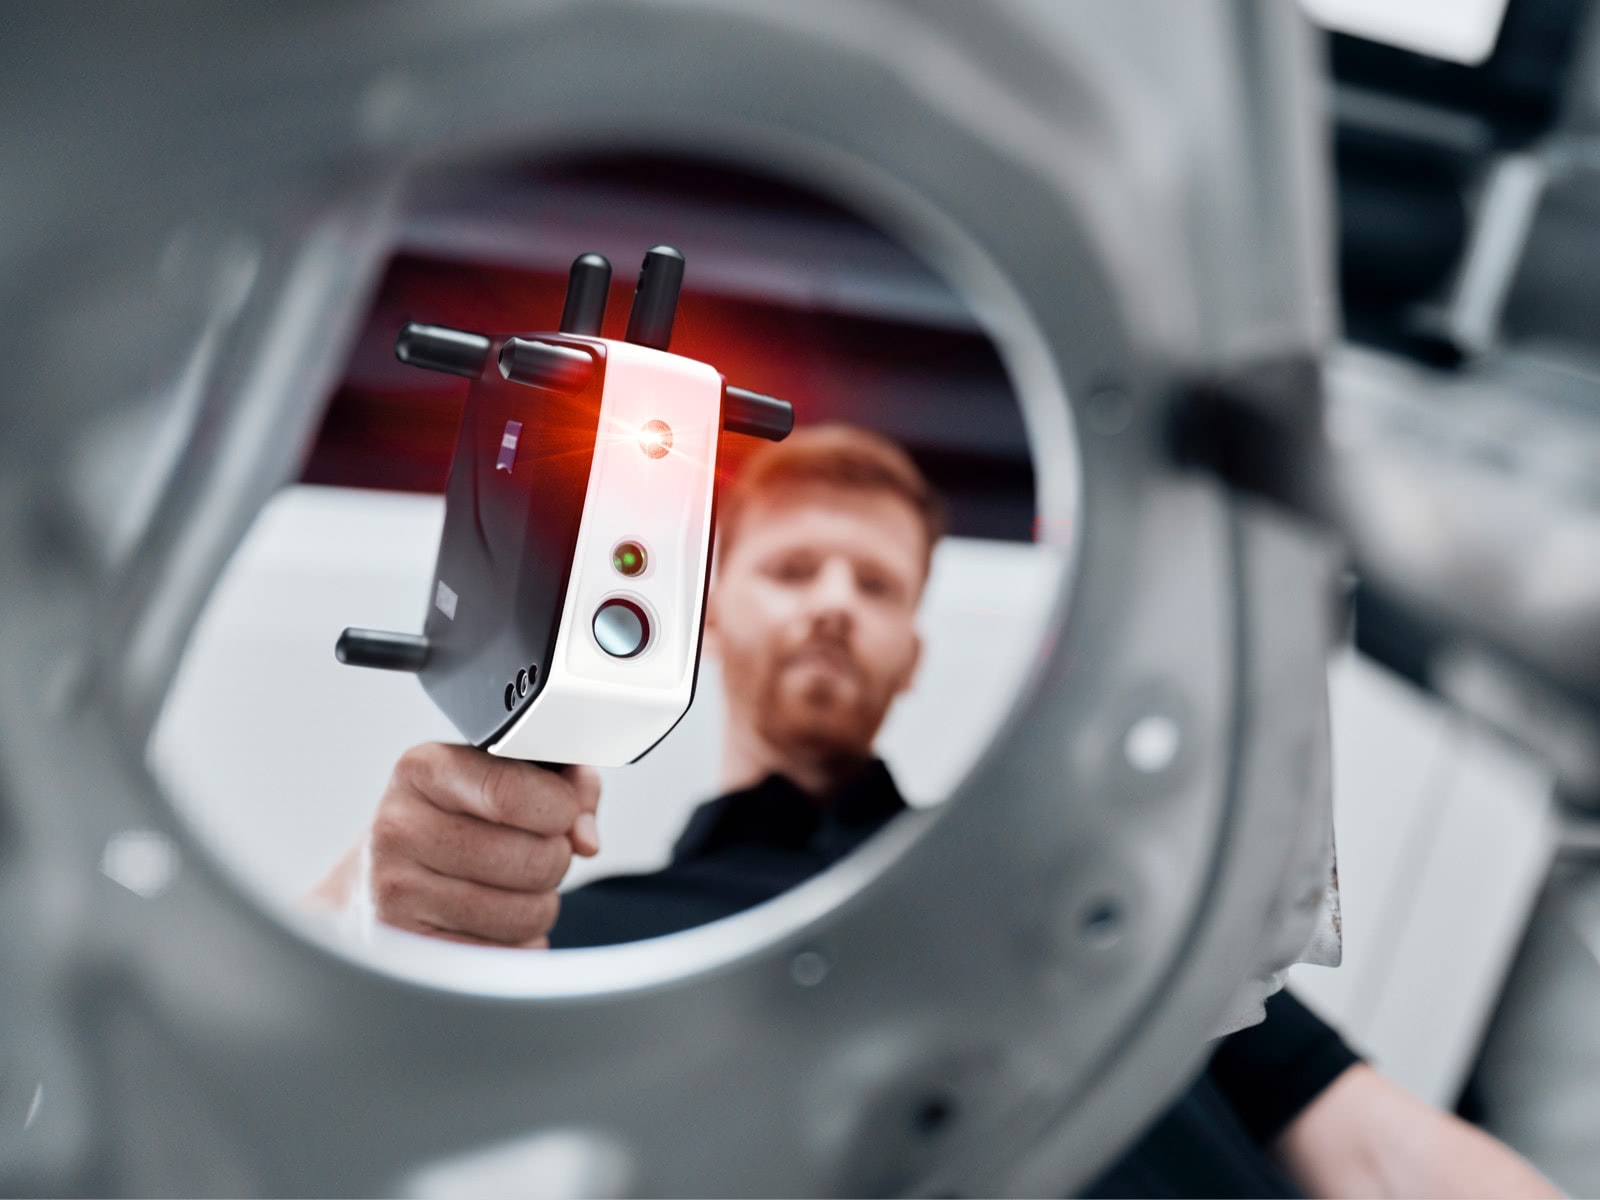
Rilevamento precoce di deviazioni
Questa soluzione di misurazione mobile può essere usata in produzione e offre un modo rapido e intuitivo di misurare parti di componenti, analizzare e creare un gemello digitale.
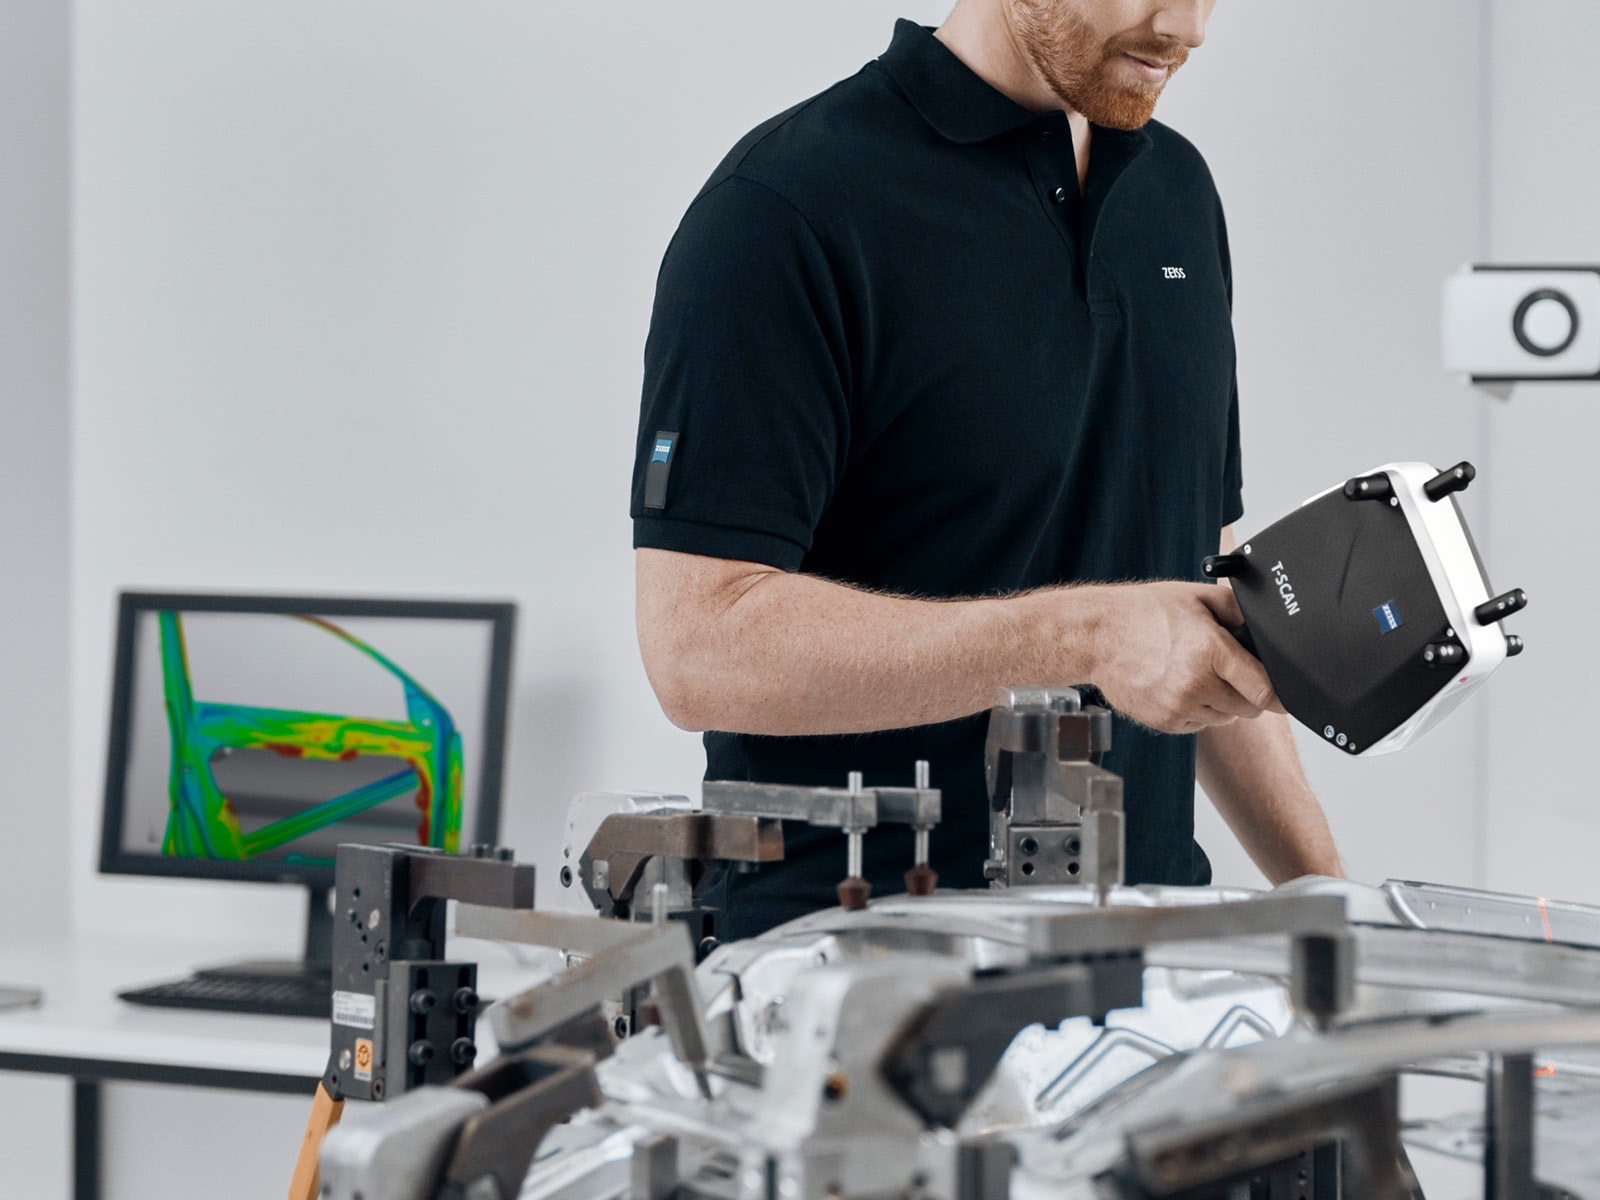
Software per un workflow guidato
ZEISS INSPECT guida l’operatore attraverso la scansione, la tastatura e l’ispezione e consente un monitoraggio dell’avanzamento in tempo reale.
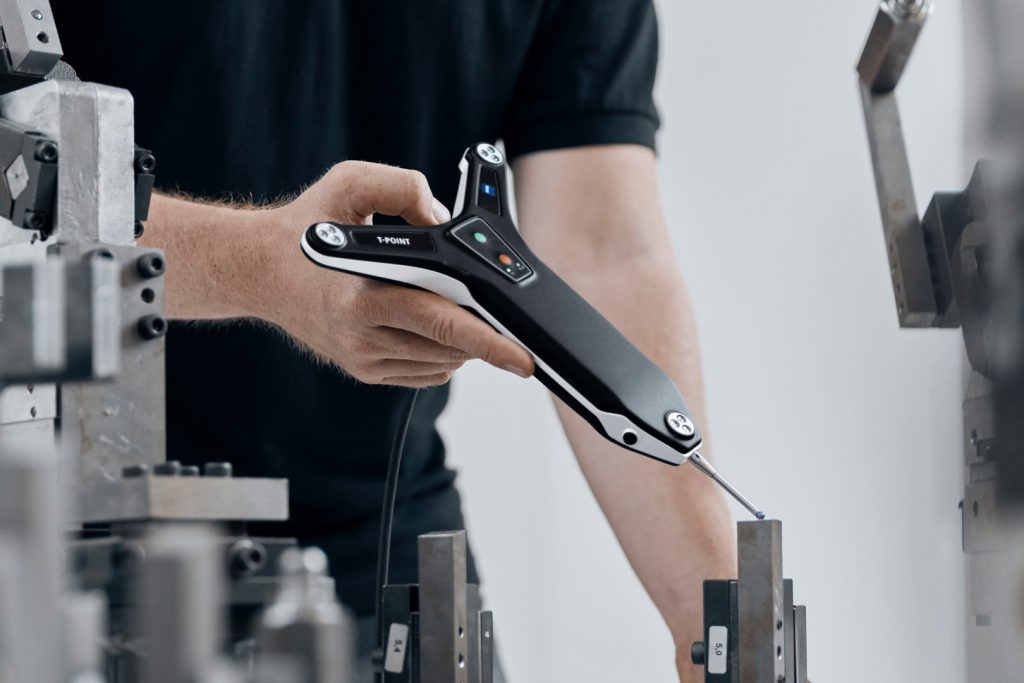
Tracciamento ottico per volumi grandi e piccoli
Combinate uno scanner laser portatile T-SCAN con il sistema di tracciamento ottico che preferite: l’affermato T-TRACK 20 per grandi volumi di misura fino a 20 m³ oppure il nuovo T-TRACK 10 per un volume di misura più piccolo fino a 10 m³ e una maggiore accuratezza. Se volete acquisire in maniera rapida e affidabile posizioni di misura singole, scegliete il tastatore T-POINT. È la soluzione perfetta per misure di punti singoli su aree di oggetti come bordi tagliati e geometrie definite oppure nelle aree otticamente difficili da raggiungere.
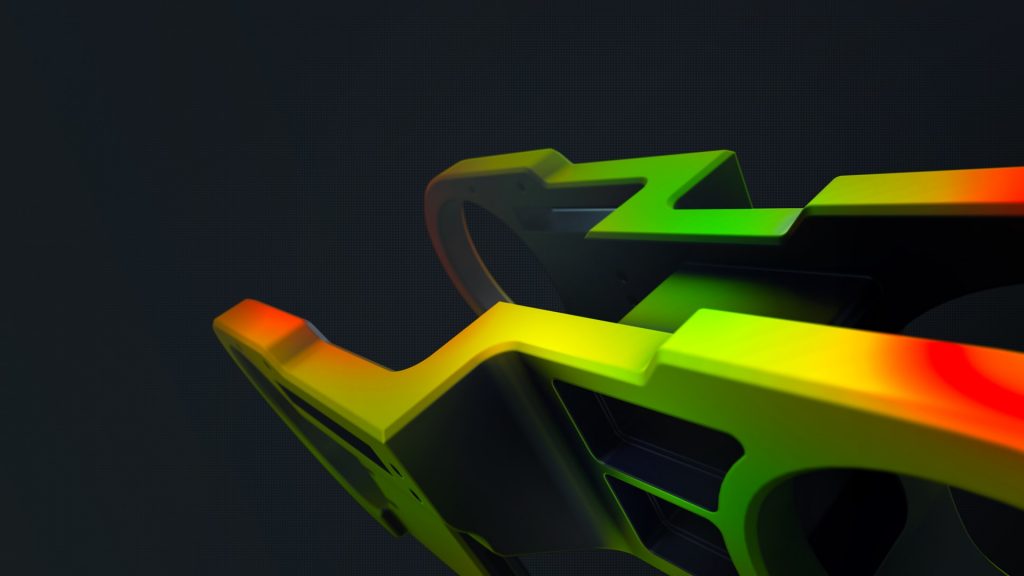
ZEISS INSPECT: software intuitivo per un workflow semplificato
Il sistema modulare T-SCAN funziona con il ZEISS INSPECT, la soluzione software tutto in uno e orientata all’utente nonché standard ben affermato nella metrologia 3D. Misurazioni e ispezioni possono essere eseguite sullo schermo, la funzione parametrica rende tutte le fasi di processo tracciabili. Per un workflow semplificato, più veloce e più produttivo.
Una vasta gamma di applicazioni
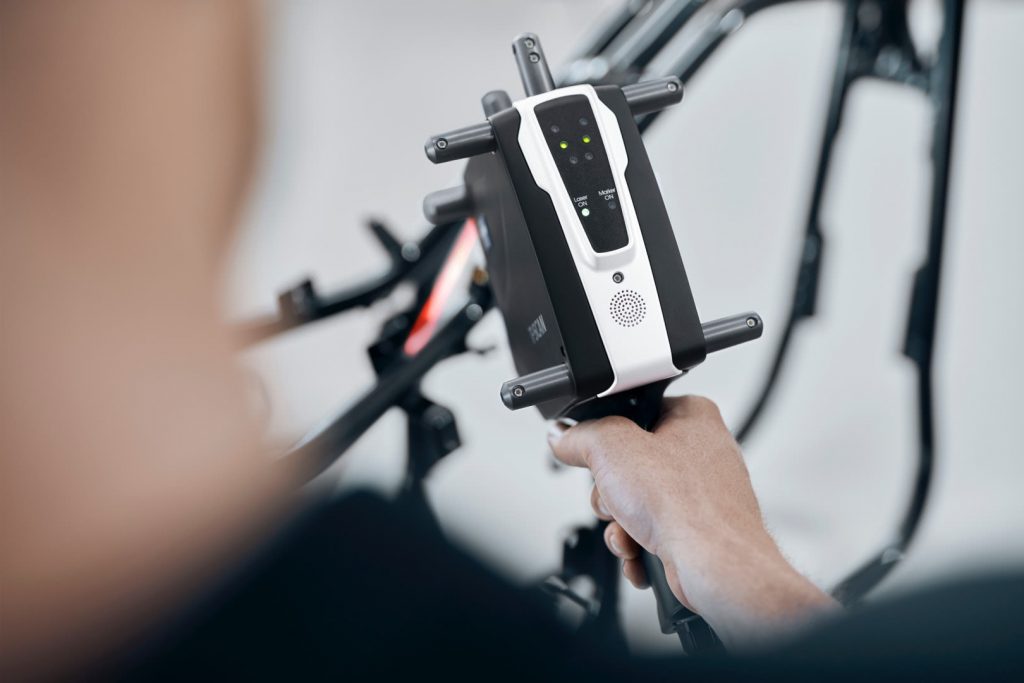
Controllo qualità e ispezione
- Confronto dati nominali/reali del CAD e del pezzo
- Estrazione di bordi e limiti di parti in lamiera
- Ispezione di strutture saldate complesse
- Ispezione in reparto di produzione
Realizzazione di utensili e stampi
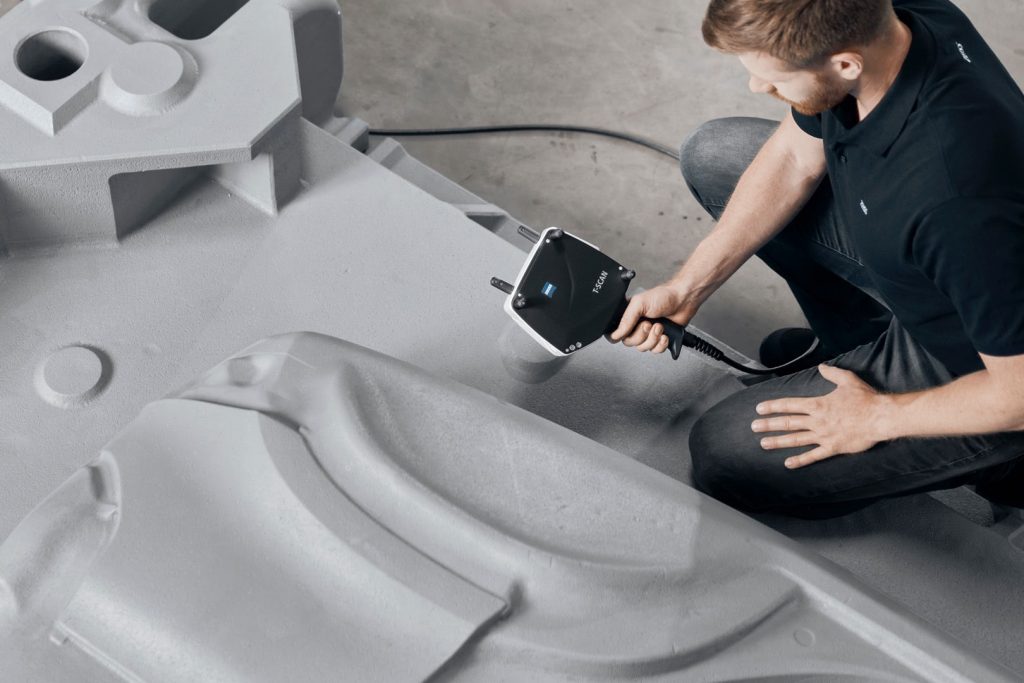
- Ricostruzione di utensili
- Dati di scansione per la generazione di percorsi di lavorazione
- Acquisizione effettiva dopo approvazione utensile
- Acquisizione di dinamiche complesse dei componenti, ad es. durante una procedura di serraggio
Progettazione e sviluppo di prodotto
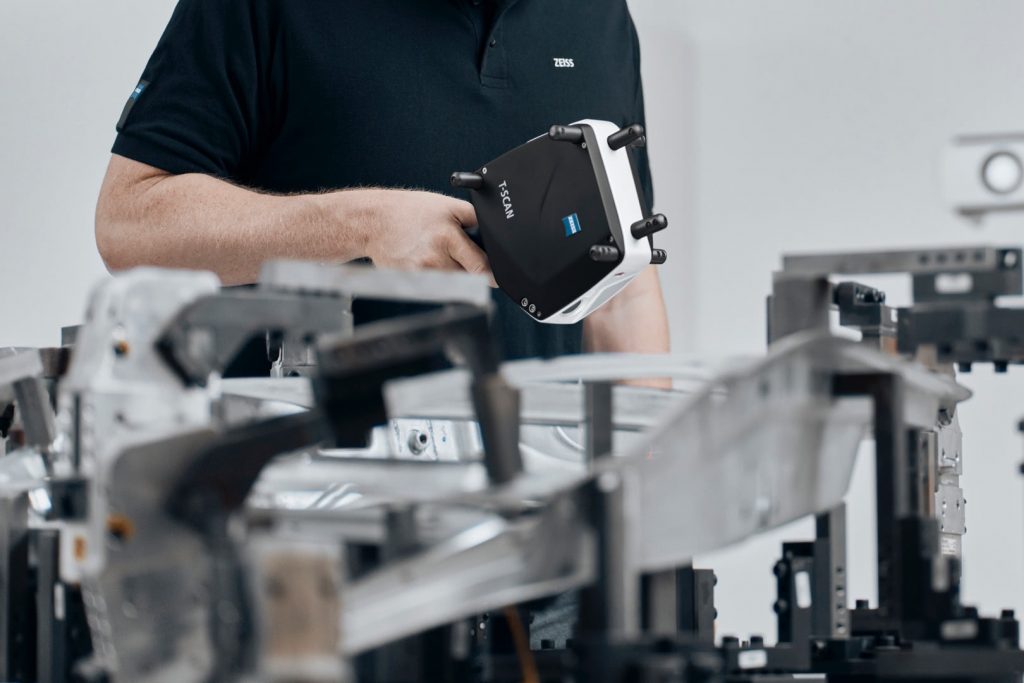
- Elevato range dinamico per la scansione di tutti i tipi di superfici
- Scansione di modelli di progettazione per l’elaborazione downstream e la documentazione CAD
- Configurazione di strumenti di misura e fissaggio
- Acquisizione rapida di geometrie di riferimento e di aree specifiche


Dati tecnici
Volete scoprire di più?
Mettetevi in contatto con il vostro partner #HandsOnMetrology locale.
Scopri di più
i
Please select the topic you seek more information aboutHow to scan difficult surfaces
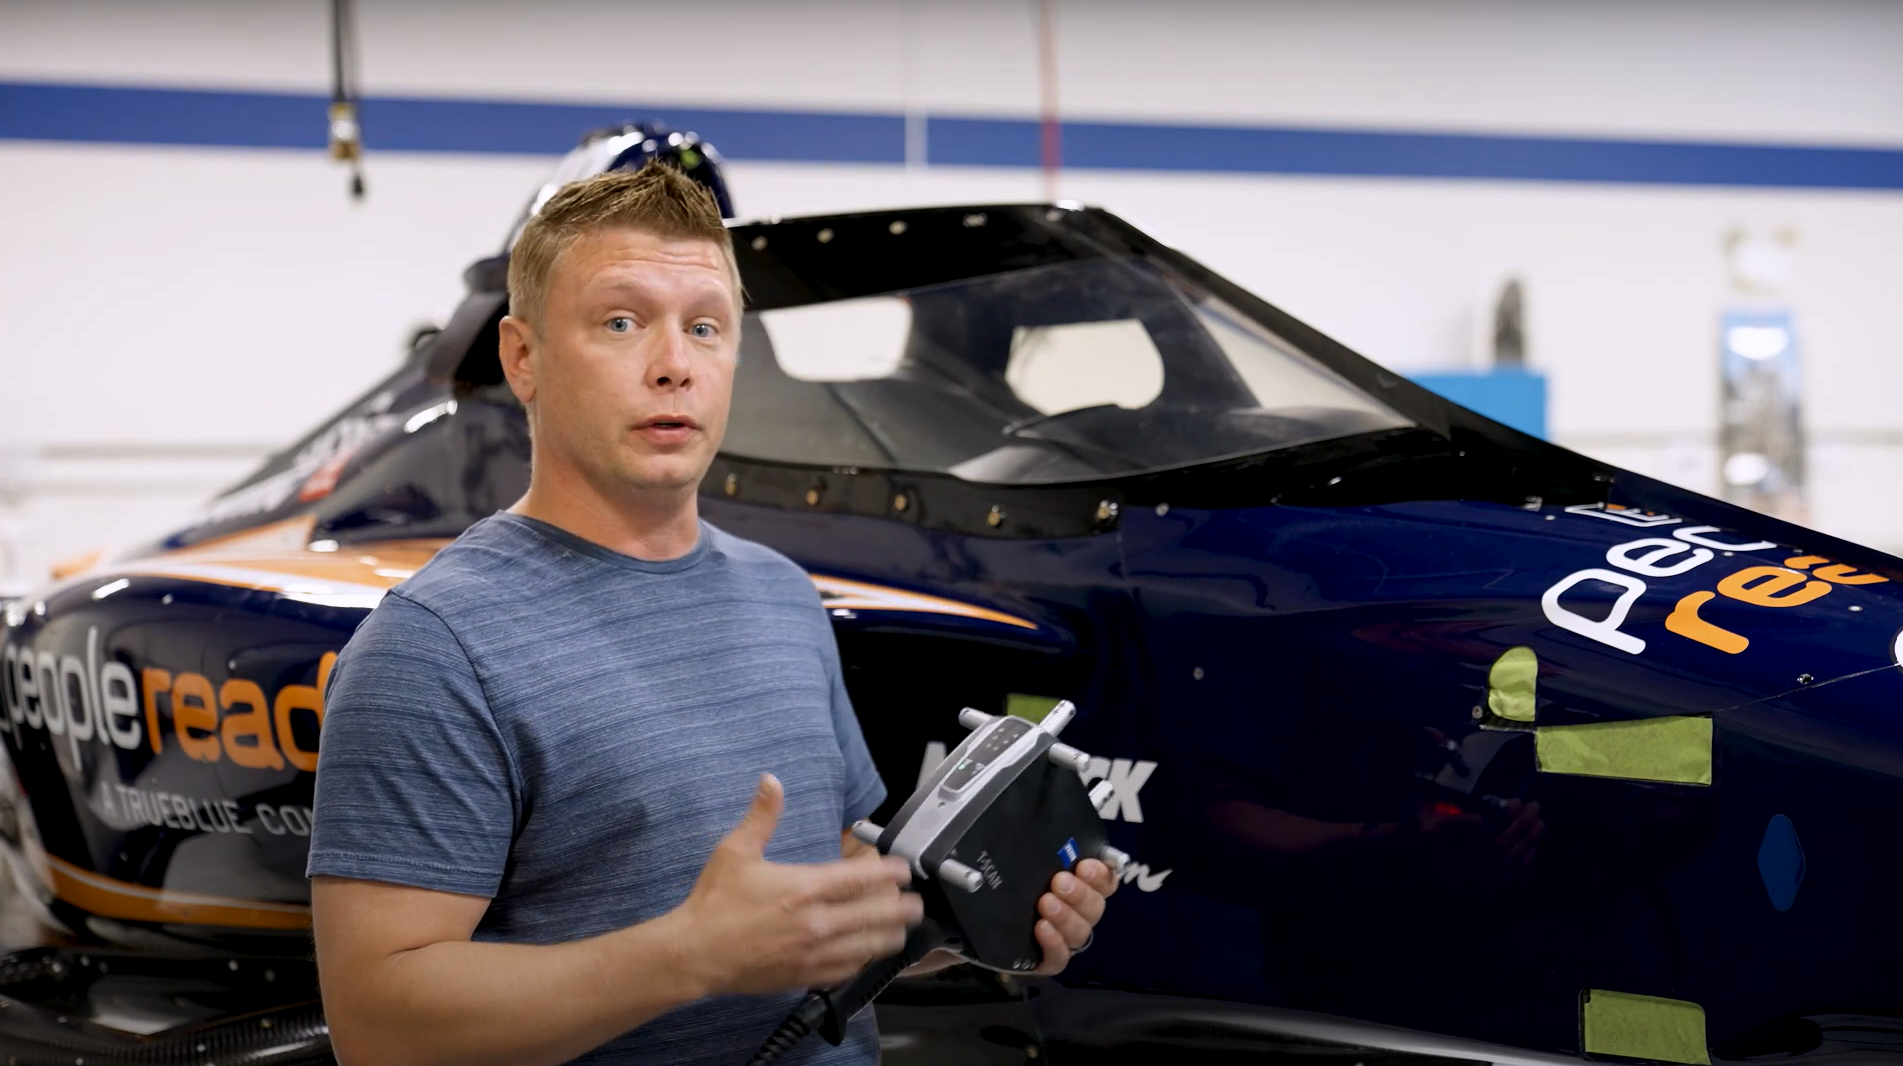
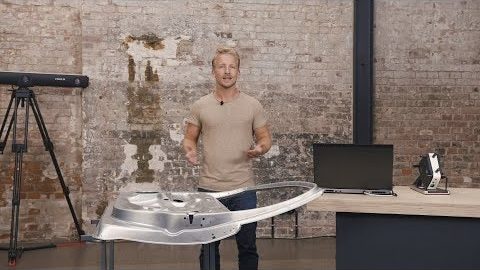
Welcome behind the scenes at IndyCar racing team RLL. The task: to scan a windshield. The problem: the laser or projected fringe can penetrate the surface. The solution: a 3D scan spray to coat the surface – for a much cleaner STL-file that’s ready for inspection.
T-SCAN: Your first use of the hand-held 3D scanner
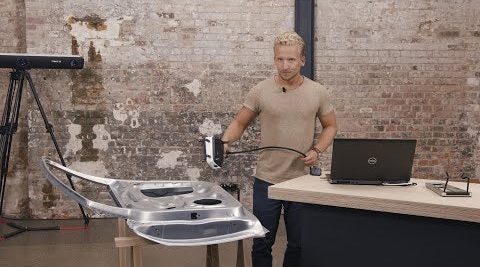
Discover how to scan an object with the hand-held T-SCAN laser scanner. First, verify the field of view and the correct stand-off distance of the scanner. Make the task extra easy by using a pre-defined scanning template. The software automatically aligns every scan.
Chapters
00:28 Field of view
00:47 Stand-off distance
01:15 Pre-defined scan templates
01:32 Scanning
02:06 Polygonize and recalculate
T-SCAN: Extend a measuring volume with surface best-fit
Extend the measuring volume of the optical tracker T-Track by using the surface best-fit feature in GOM Inspect Suite. After capturing the 3D scanning data, David shows you how to transform it in order to get a perfect digital twin with the T-SCAN system.
Chapters
00:27 Initial part orientation
01:00 New part orientation
01:20 Create new measurement series
01:55 Transform measurement series
02:32 Polygonize mesh
T-SCAN: Single-point measurements with the touch probe
Find out how to use the touch probe T-POINT in combination with the optical tracker T-TRACK to measure individual points or deep holes. Simply define the feature you want to probe in the software GOM Inspect Suite, then follow the guided workflow to take measurements.
Chapters
00:39 Button functions
01:20 Pre-define elements to measure
01:55 Guided workflow
02:14 Measure an element
02:34 Accept a measurement
T-SCAN: Extend the measurement volume with a touch probe
How do you scan areas that are hidden from the optical tracker? Learn to extend your measurement volume with the help of the touch probe T-POINT: Simply rotate the part between scans – and probe the same features (e.g. holes) in all positions as reference points.
Chapters
00:28 Use of magnetic cones
01:36 Switch mode to scan surfaces
02:23 New part position
02:32 Create additional measurement series
02:53 Measure magnetic cones in new position
03:56 Transform measurement series
T-SCAN: Get some useful tips & tricks
Get some tips & tricks from David for the precise T-SCAN system. Learn why the T-TRACK should always look down on the part you want to scan, how you should adapt the scanning speed to the feature you want to scan and how to find the right scanning parameters.
Chapters
00:29 How to orientate the T-TRACK
00:52 Adapt the scanning speed
01:29 Find the right scanning parameters
T-SCAN: Your first use of ZEISS INSPECT
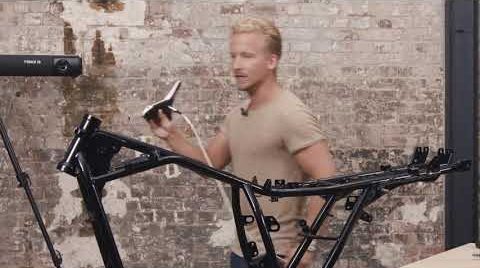
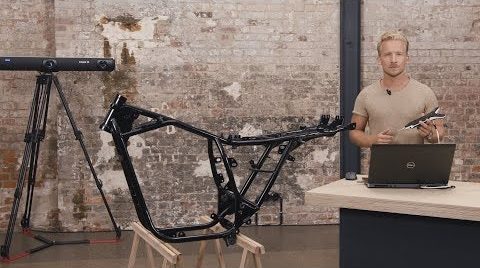
Learn how to use ZEISS INSPECT with your T-SCAN system and watch David create a digital twin of a motorcycle frame. Just make sure the part you want to scan is inside the measurement volume of your optical tracker! Using the hand-held scanner is fast and intuitive.
All functions shown are available in the current software version.
Got any questions on 3D scanning? Contact us via support@HandsOnMetrology.com
Chapters
00:28 Start screen of GOM Inspect
00:46 Initialize the sensor
01:07 Verify the part is inside the measurement volume
02:04 Start scanning
T-SCAN: How to set up your new laser scanner system
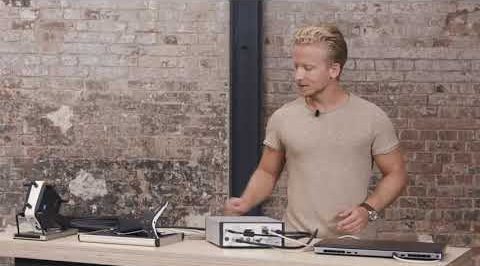
Mount the optical tracker on the tripod and connect the cables of all scanning components to the controller. Then connect the power cable and the laptop to the controller, plug in your license dongle, open the laptop, switch on the controller and start GOM Inspect Suite.
T-SCAN: The difference between T-SCAN 10 and T-SCAN 20
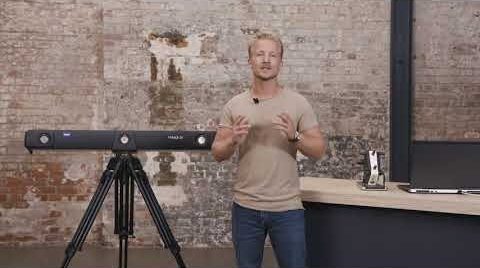
Discover the differences between the 3D scanning systems T-SCAN 10 and T-SCAN 20. First: T-SCAN 20 has a measurement volume of 20 m³, while T-SCAN 10 scans up to 10 m³. Second: T-SCAN 10 is accordingly cheaper. The good news: You can always upgrade.
Chapters
00:28 Measurement volume
00:48 Measurement depth
